4.7 KiB
Messages
Summary: Send feedback to users.
Available Commands
dialog
Use the dialog CLI to display a message.
height(int): The height of the dialog box. Default:15title(str): An optional title to display as part of the dialog box. Default:Message.width(int): The width of the dialog box. Default:100
[send some feedback]
dialog: "This is a message."
- send some feedback:
  dialog: "This is a message."
!!! warning
The dialog command line utility must be installed.
explain
Provide an explanation. When generating code this is added as a comment. When documentation is generated, it is output as text.
[introduction]
explain: "These steps will set up a Radicale CalDav/CardDav server."
header: Introduction
The header option is not used in comments, but makes documentation more readable and facilitates the creation of tutorials or install guides that re-use the defined steps.
echo
Display a simple message.
[send some feedback]
echo: "This is a message."
- send some feedback:
  echo: "This is a message."
mattermost
Send a message via Mattermost.
url(str): Required. The URL to which the message should be sent.
[send some feedback]
mattermost: "This is a message."
url: https://mattermostdomain.com/path/to/your/channel/webhook
Using the mattermost command requires setup from your Mattermost admin. The procedure will be something like the following:
1. Click on Integrations from the admin menu.
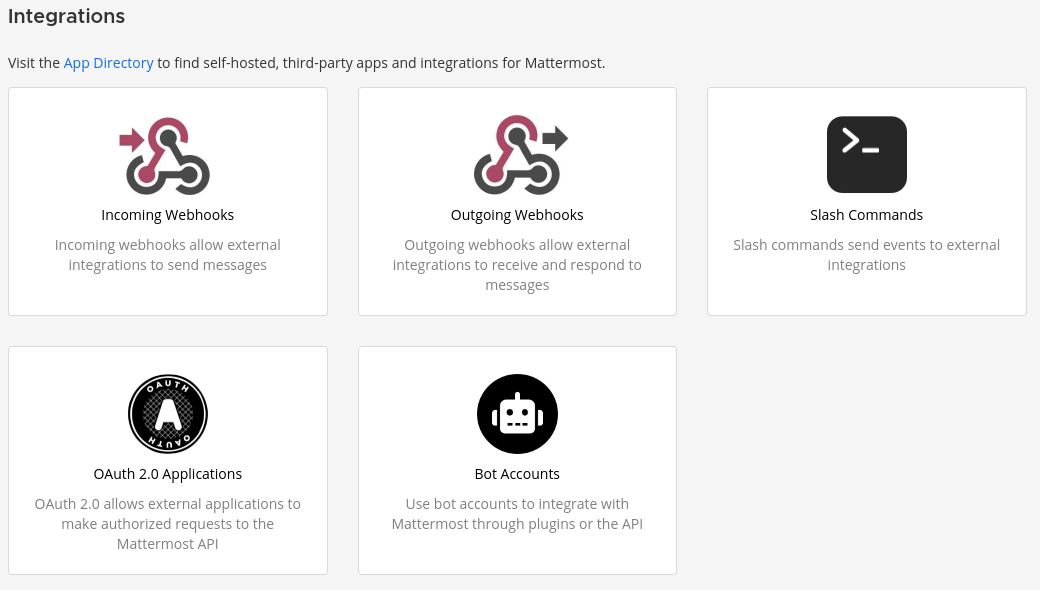
2. Click Incoming Webhooks and then Add New Webhook.

3. Fill in the information and click Save.

4. Copy and past the webhook URL to your configuration.
slack
Send a message via Slack.
url(str): Required. The URL to which the message should be sent.
[send some feedback]
slack: "This is a message."
url: https://subdomain.slack.com/path/to/your/integration
- send some feedback:
  slack: "This is a message."
  url: https://subdomain.slack.com/path/to/your/integration
!!! note
You could easily define a variable for the Slack URL and set url: {{ slack_url }} to save some typing. See variables.
Using the slack command requires setup from your Slack admin. The procedure will be something like the following:
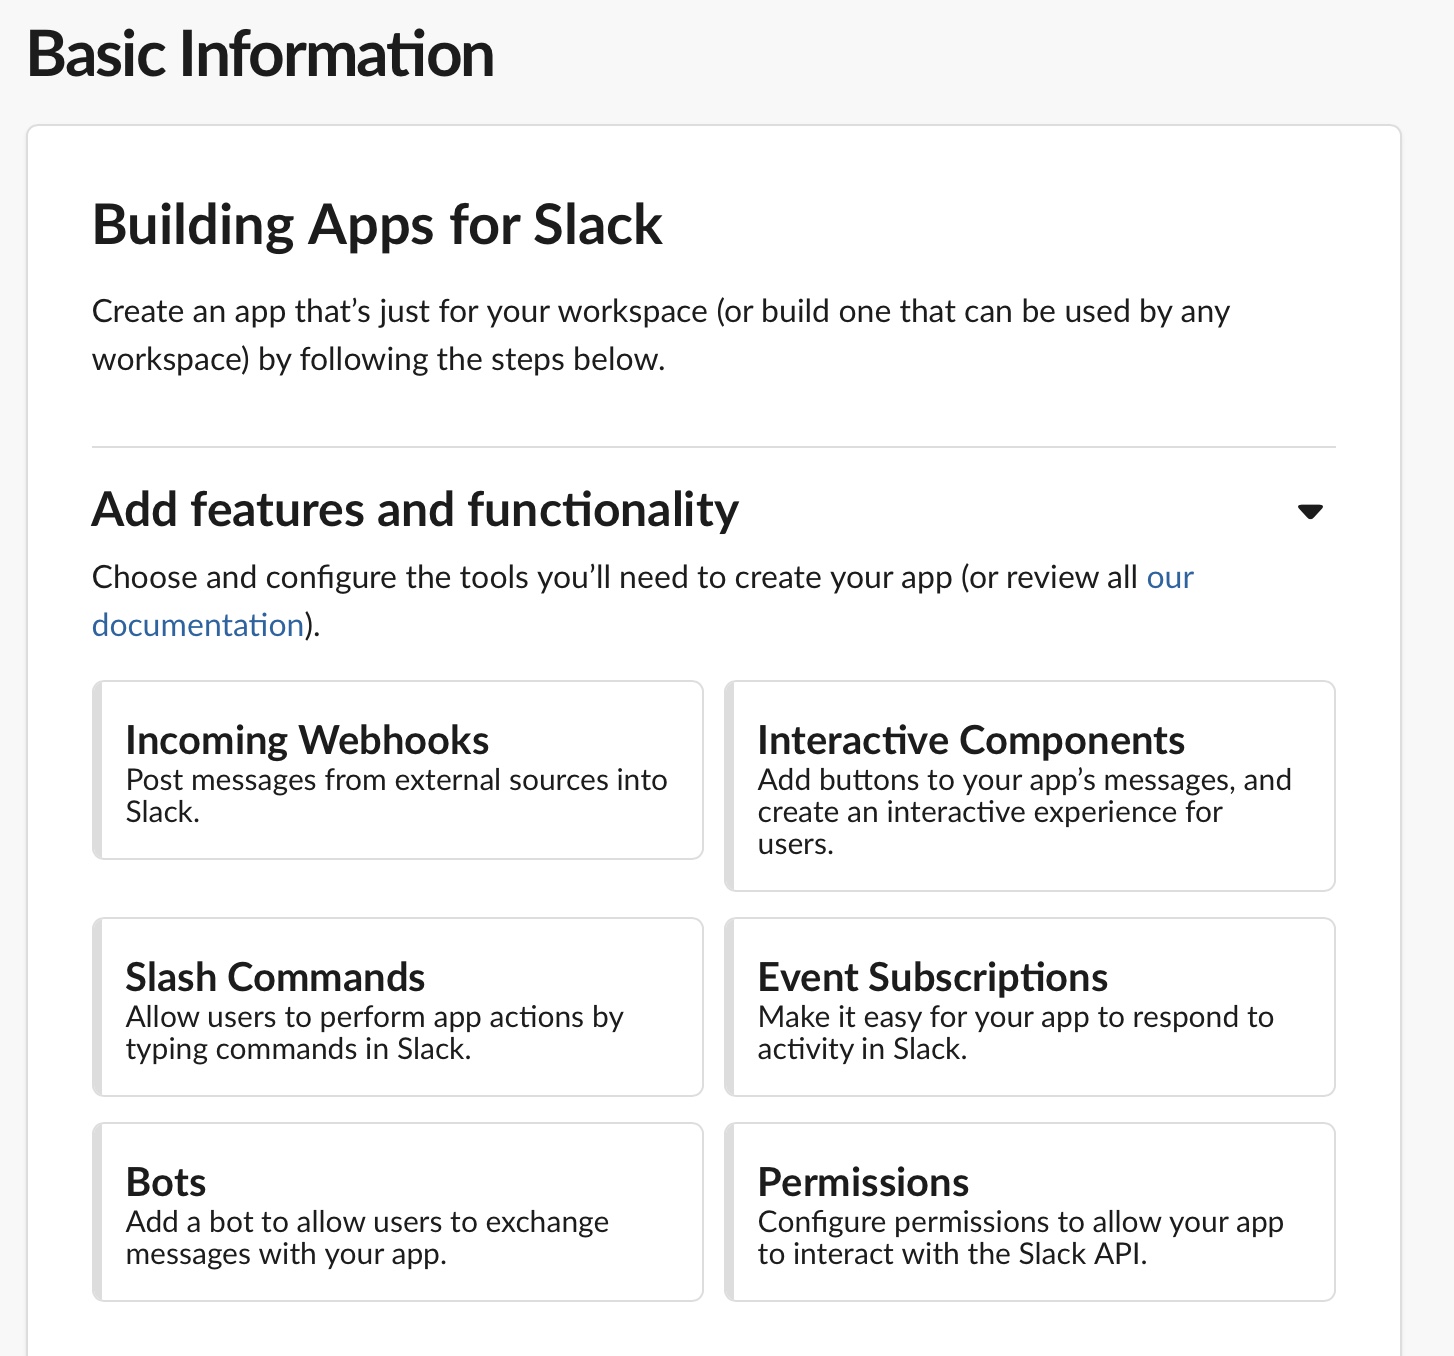
1. Log in to Slack and go to Your Apps
2. Create a new Slack app.
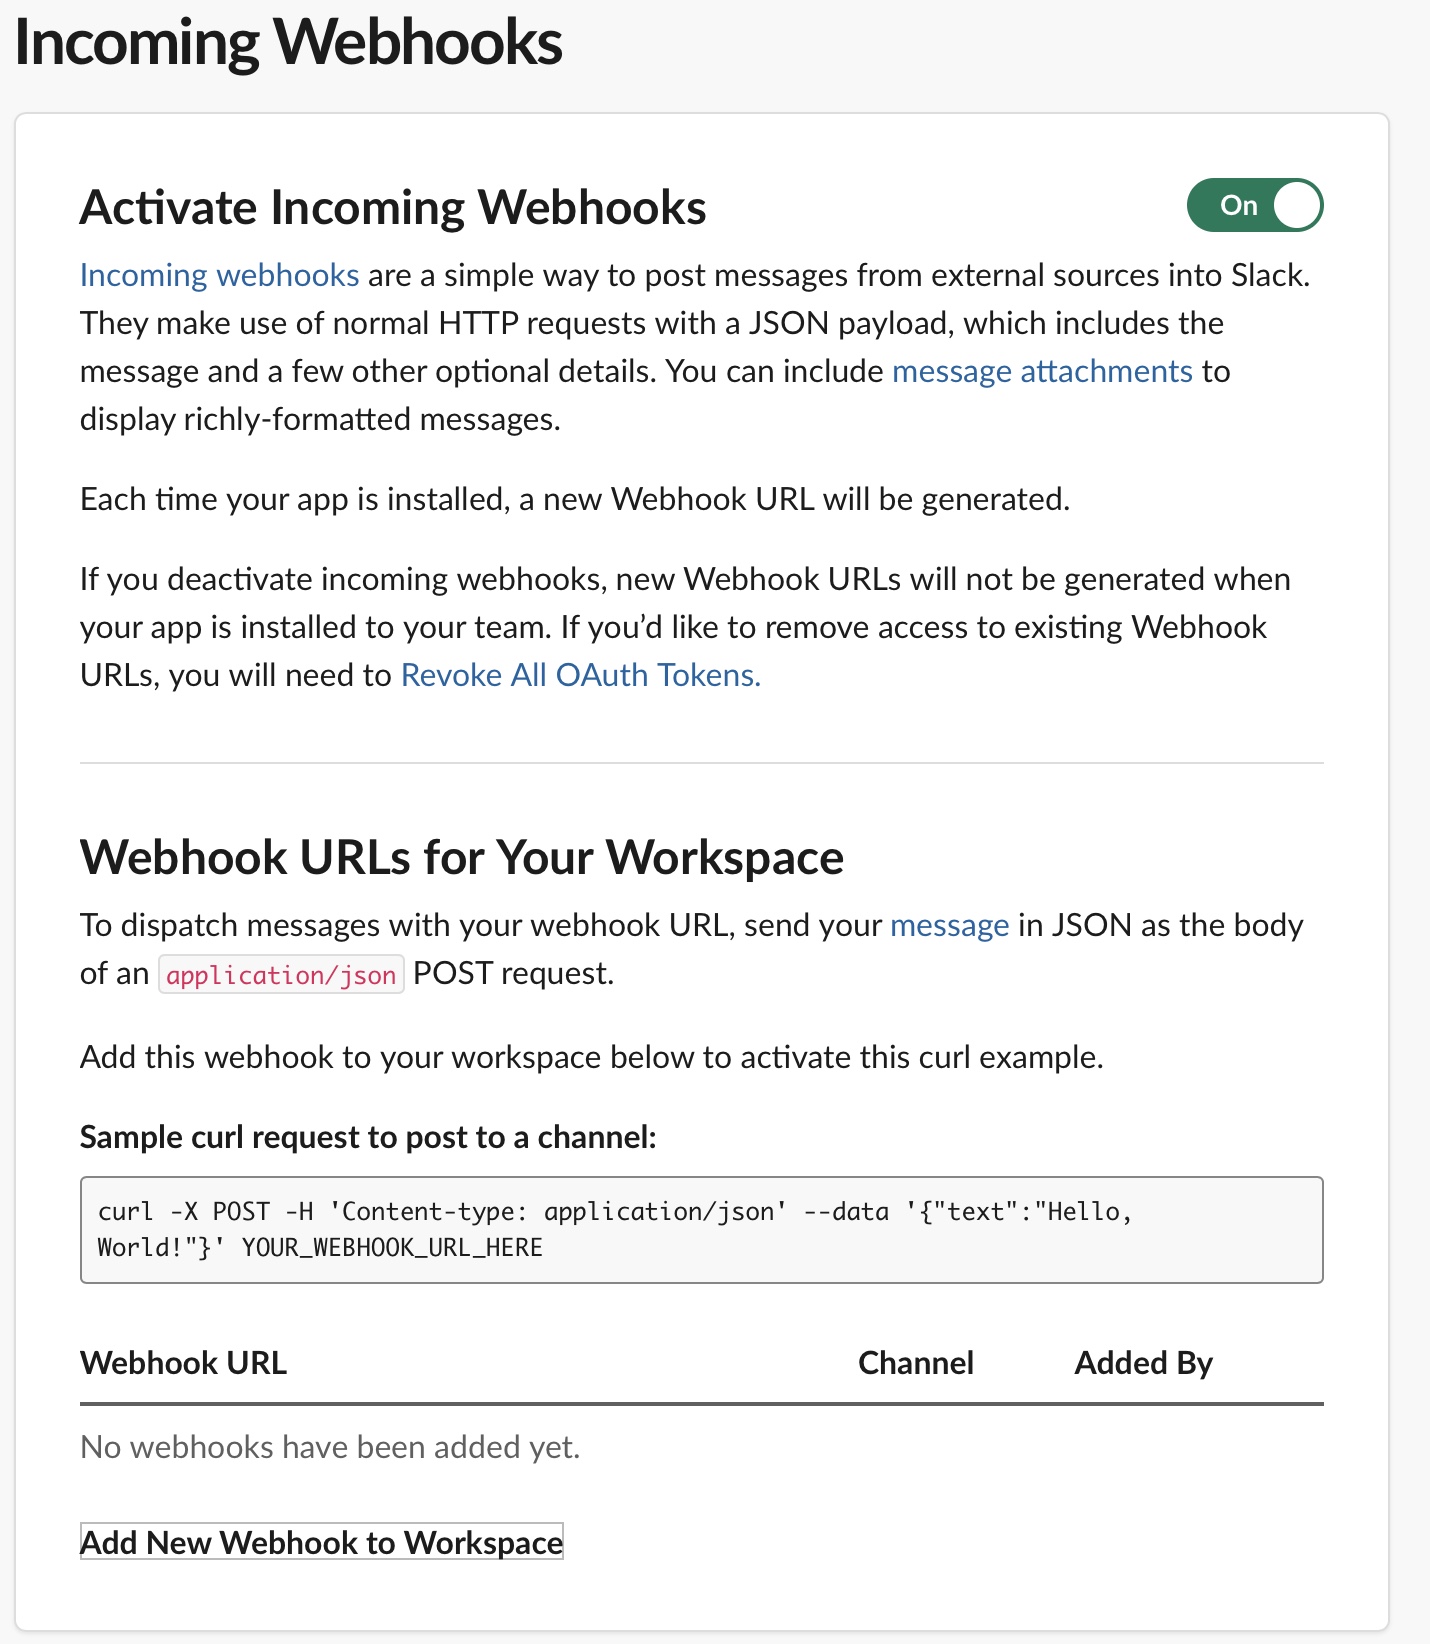
3. On the next page, select Incoming Webhooks and then toggle activation.
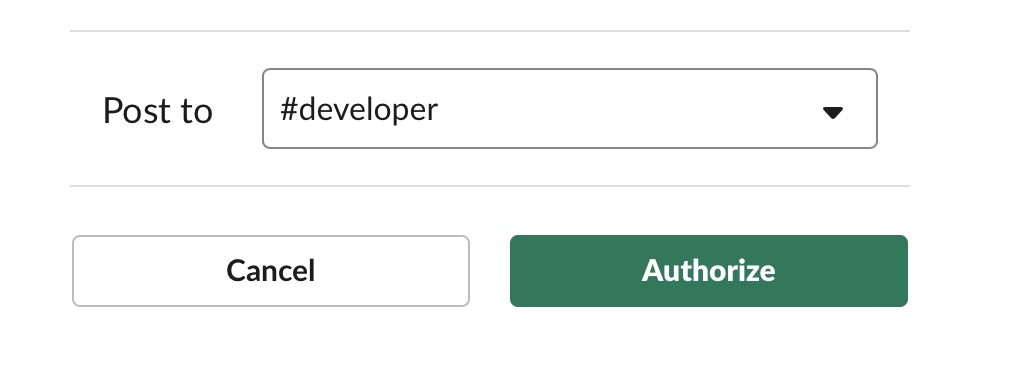
4. Next click Add new Webhook to Workspace and select the channel to which the message will be posted.
5. Copy the URL for the new webhook to use as the url parameter for the Slack command.
screenshot
Like explain above, a screenshot adds detail to comments or documentation, but does not produce a command statement.
caption(str): An optional caption for the image.css(str): CSS class(es) to be apply to the image.height(int | str): The height of the image in pixels or as a percentage.width(int | str): The width of the image in pixels or as a percentage.
[login screenshot after successful install]
screenshot: images/login.png
caption: Login Page
height: 50%
width: 50%
The value of screenshot may be relative to the command file or a full URL to the image. If caption is omitted the comment is used.
twist
Send a message via Twist.
title(str): The title of the message. Default:Noticeurl(str): Required. The URL to which the message should be sent.
[send some feedback]
twist: "This is a message."
url: https://subdomain.twist.com/path/to/your/integration
- send some feedback:
  twist: "This is a message."
  url: https://subdomain.twist.com/path/to/your/integration
!!! note
As with Slack, you could easily define a variable for the Twist URL and set ``url: {{ twist_url }}``. See [variables](../config/variables.md).
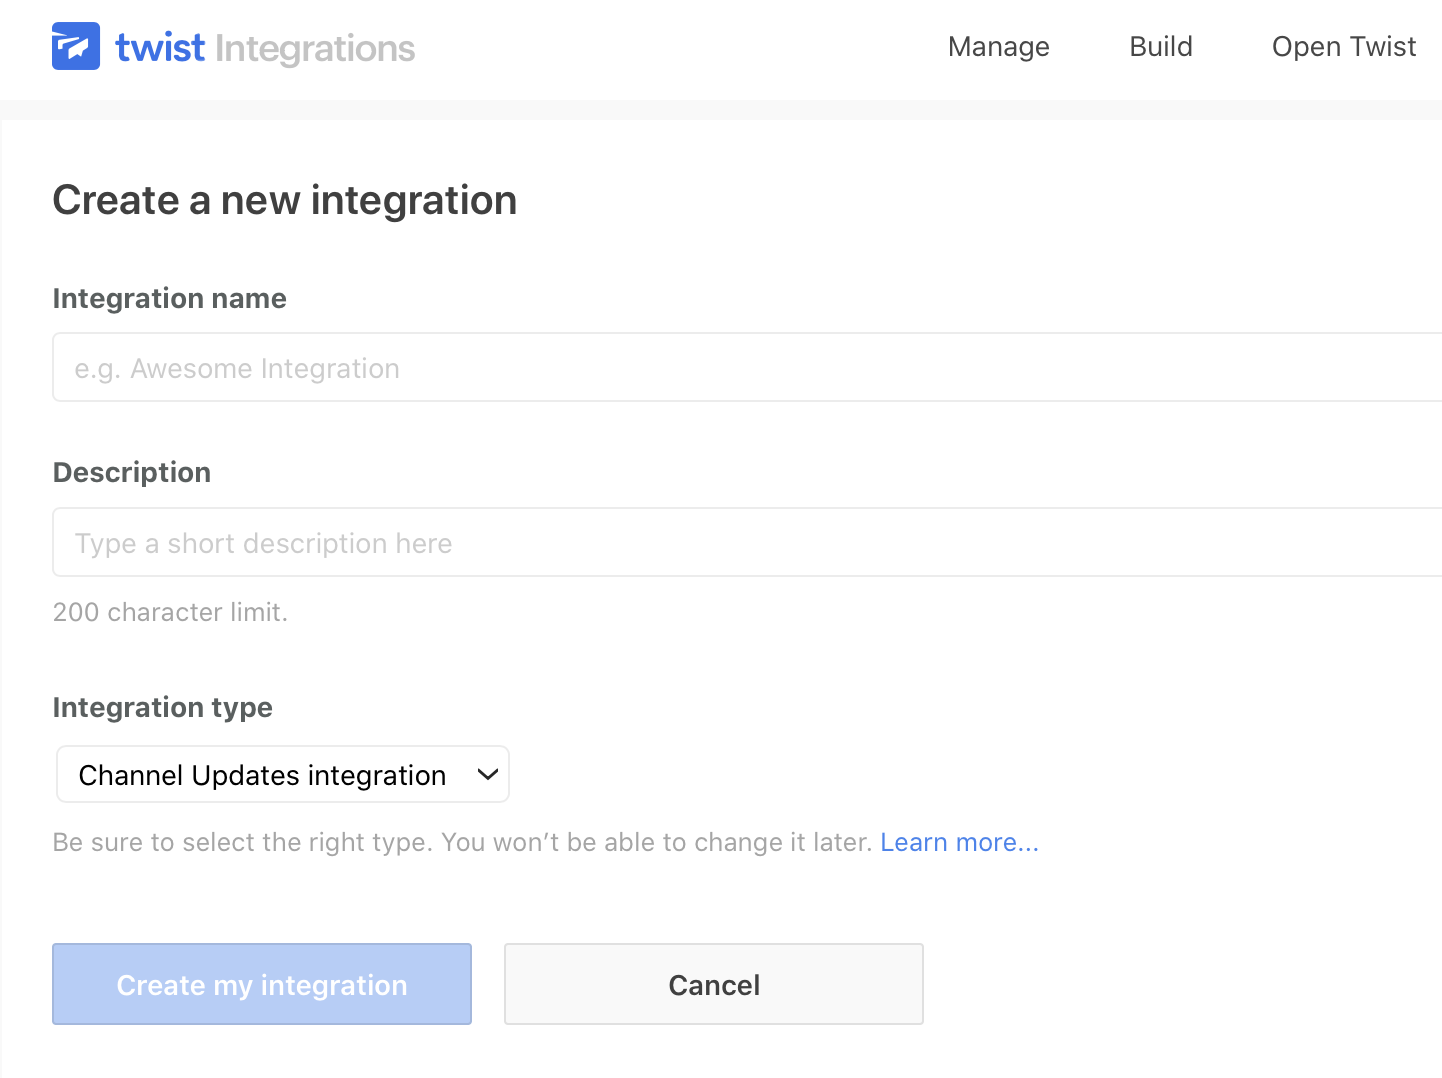
Using the twist command requires setup on your Twist account. The procedure will be something like the following:
1. Log in to Twist and from the profile menu go to Add Integrations. Then click on Build and "Add a new integration".
2. Provide the requested info.
3. After submitting this info, go to Installation. Select a channel and who to notify. Then click "Install integration".
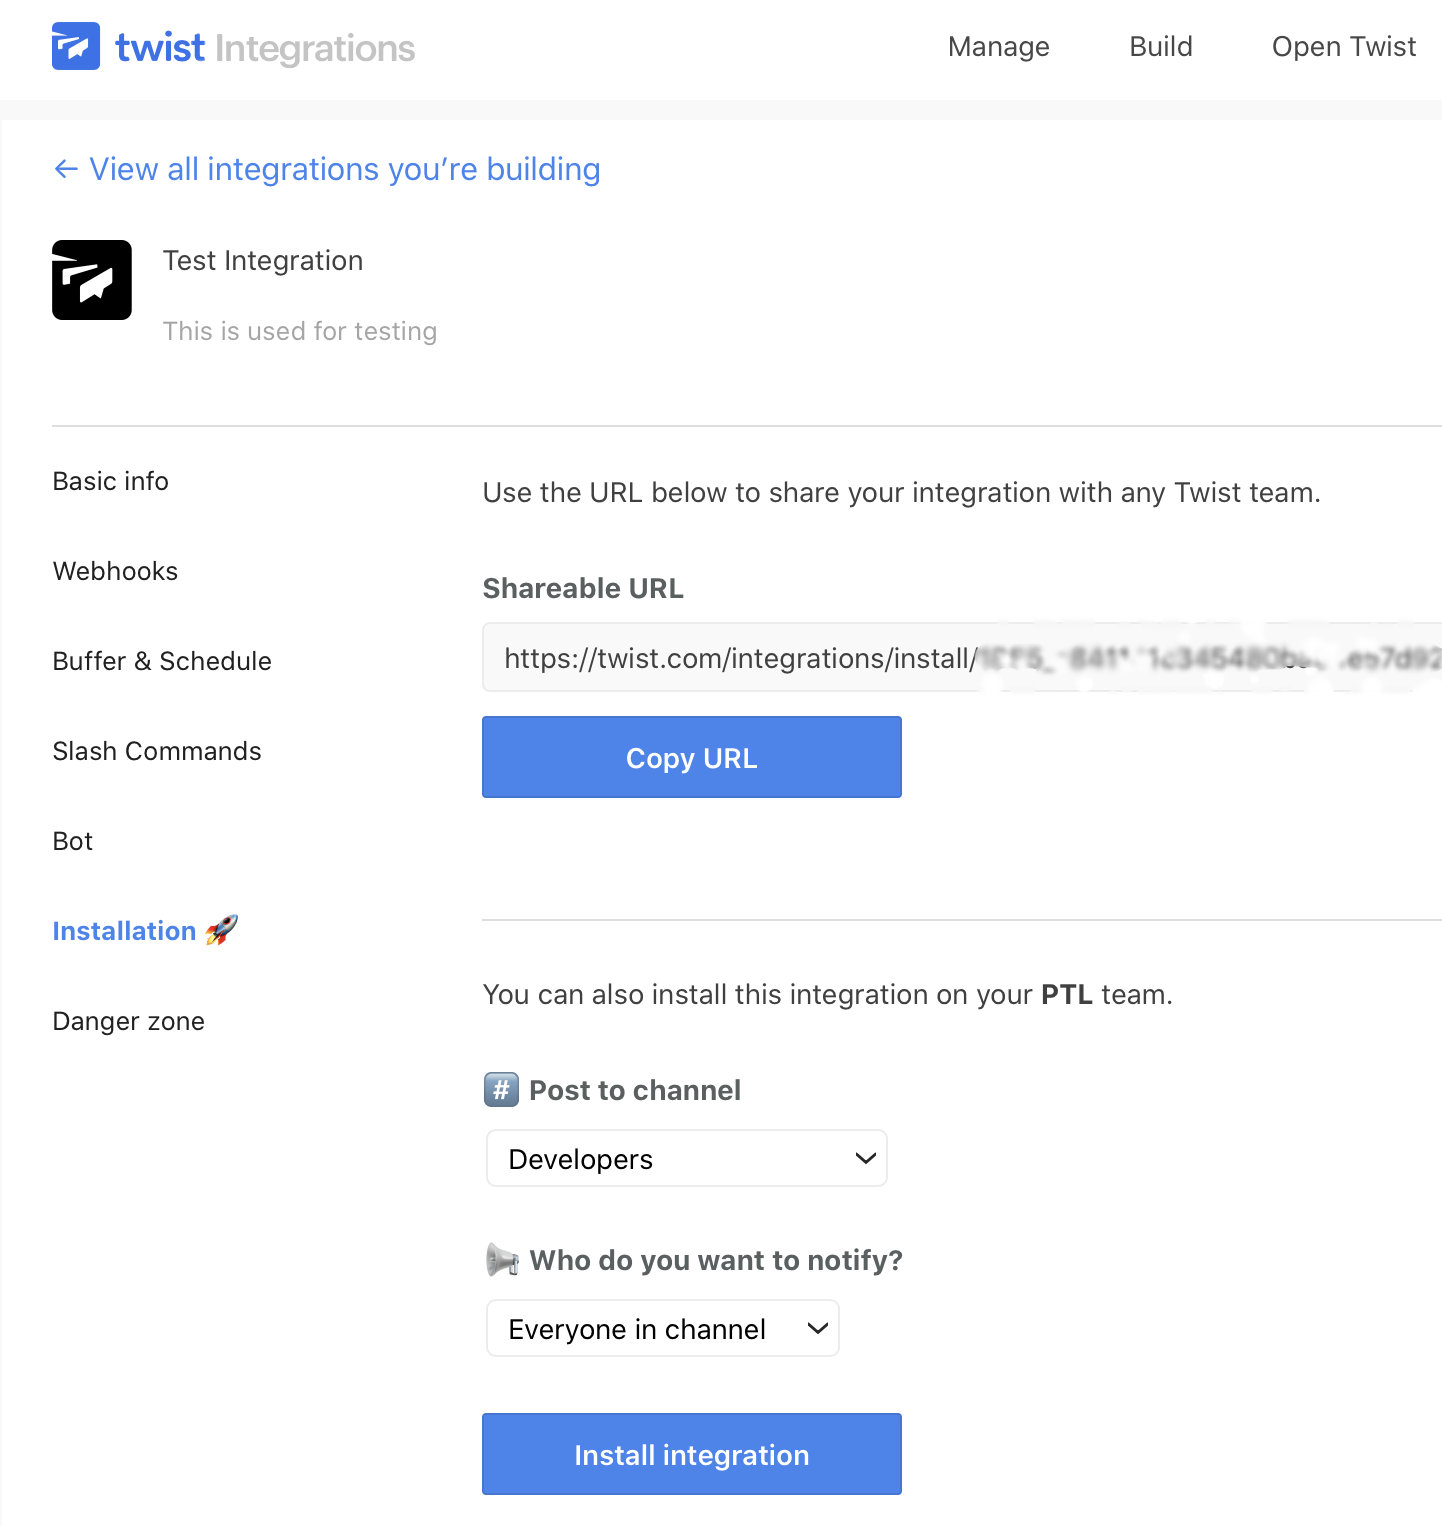
4. Copy the "Post content manually" URL for use in your configuration file.